

When I started this project, I wasn't sure that it was going to work out...I ended up having to change around my design, but I ended up being really happy with the final product even though it wasn't what I had originally planned on. I would like to experiment more with this project and try out different materials and designs.

-Paint and paintbrush (I used an acrylic metallic copper color and added yellow and white to lighten it)
-Scissors or an exacto knife
-Jump rings
-A chain (make sure it's made up of rings that are big enough to fit the jump rings through)
-A thick sewing needle
-A piece of thin wood that can be cut easily with scissors or an exacto knife

Step 1: Draw your design onto the piece of wood with pencil. I originally wanted to make the necklace out of small triangles but the wood was too fragile to do this and would split along the grain when I tried to cut it, so I figured out a design that used the wood grain. If you want to do a different design I would recommend getting thicker wood (this might also mean you need something more heavy duty to cut out your pieces though).
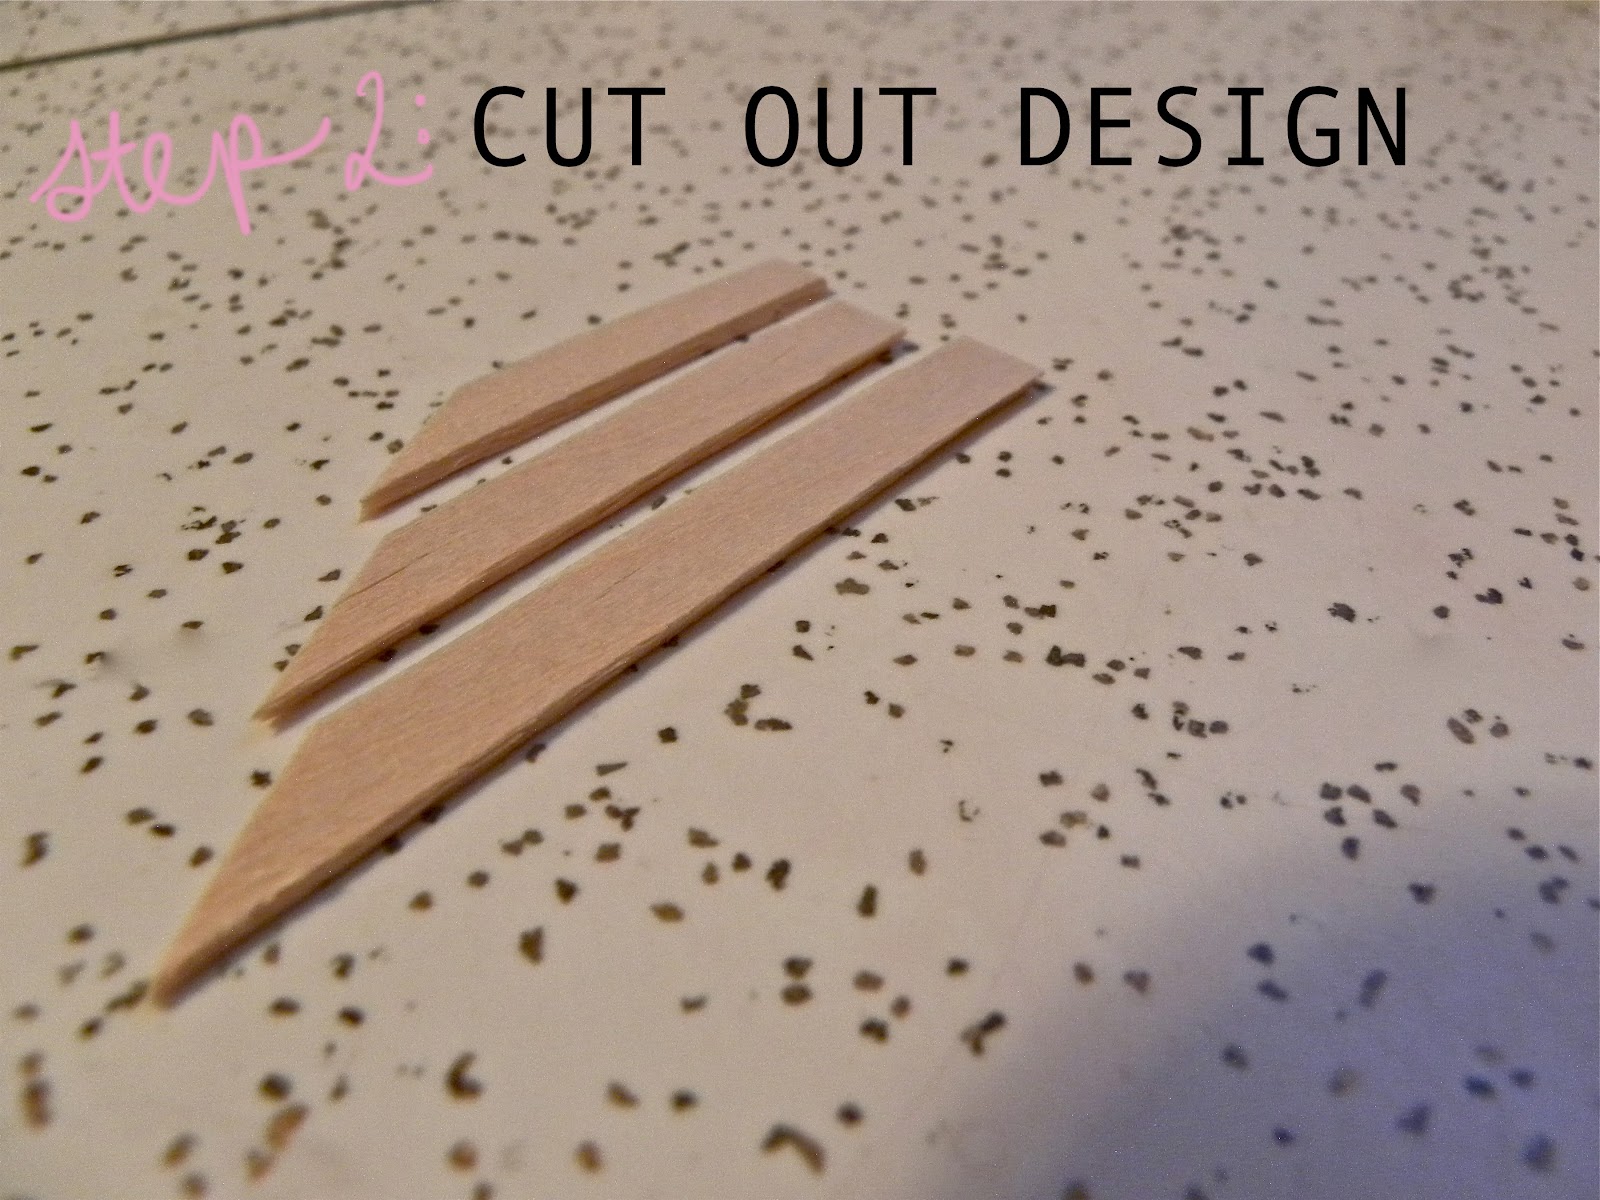 Step 2: Cut your pieces out with scissors or an exacto knife. Be very careful and gentle when you do this so you pieces don't split.
Step 3: Paint each side of your pieces of wood (including the edges). I made mine a very subtle color that got lighter towards the middle, but you can experiment with different colors or even paint designs on them.

Step 4: Use a needle to poke a hole through the top of each piece (or wherever you want to put your jump rings). Poke it through a few times to make sure the hole is wide enough. I would recommend that while you do this you squeeze the sides of the piece together so you don't split your wood down the middle.

Step 5: Insert your jump rings through each hole. Touch up the paint if necessary once you've done this.

Step 6: Attach each jump ring to the chain (remember to measure the length of your chain beforehand and make sure the pieces are centered). You might need to use small pliers to close the jump rings.

Step 7: Attach a jump ring to one end and a clasp to the other.
That's it!


