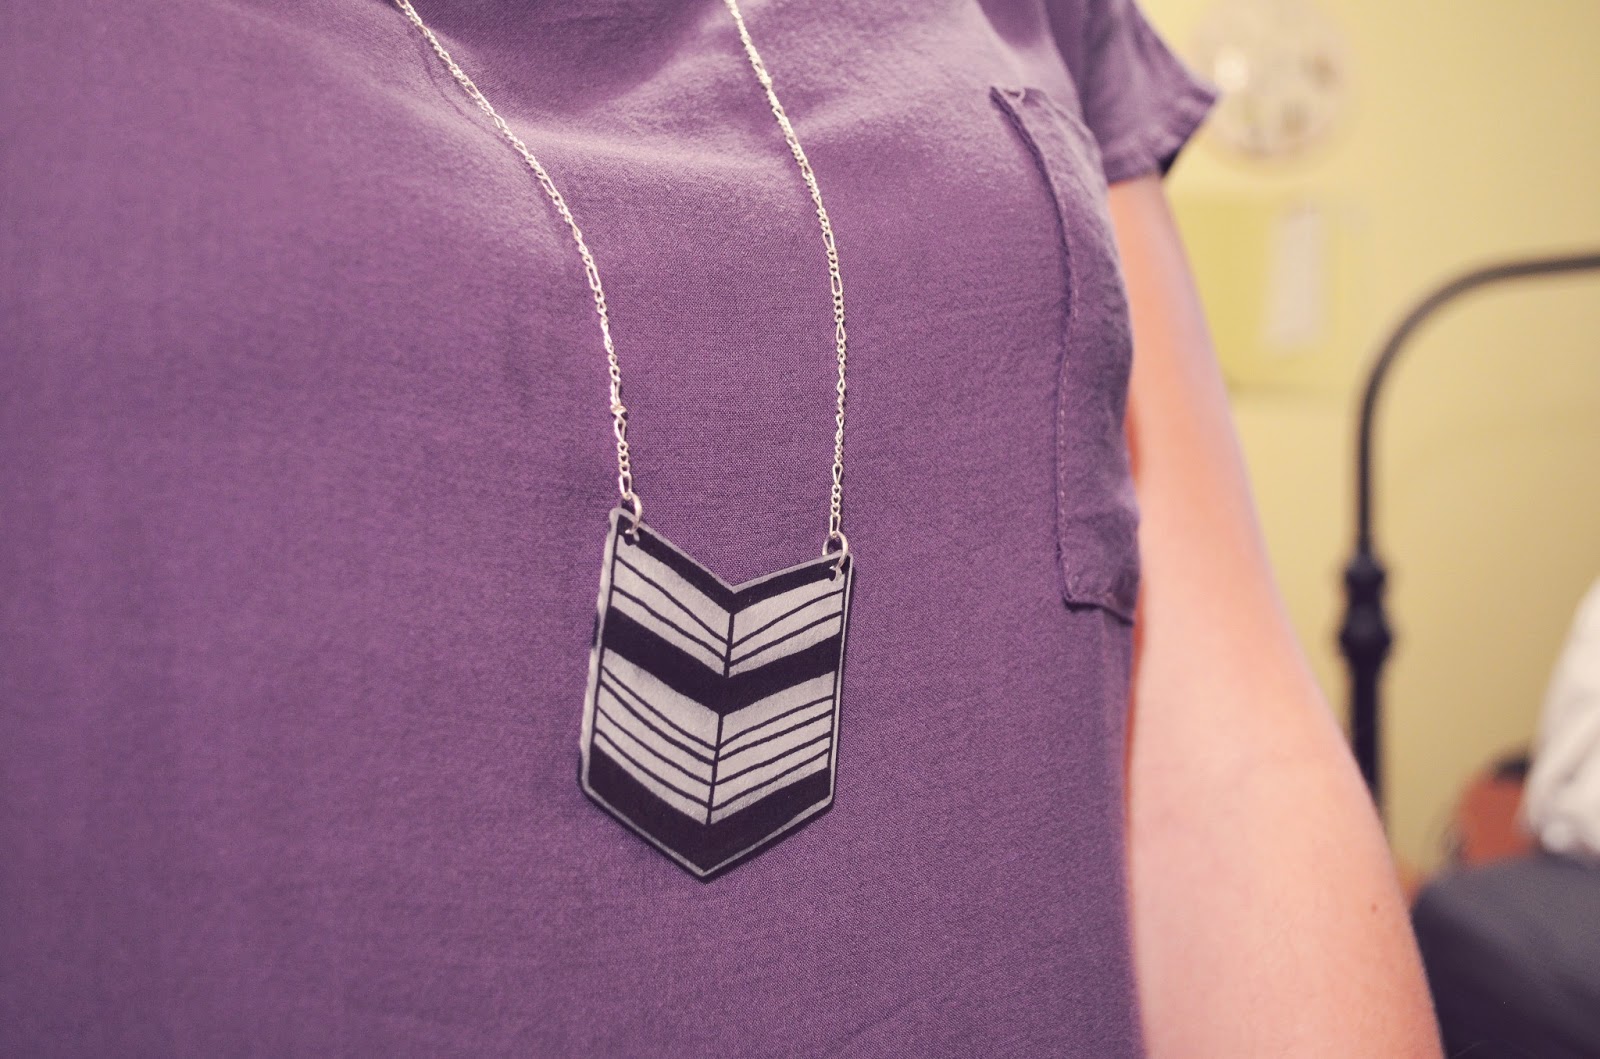
After Christmas I spent the week with my extended family in a little ski house in the mountains in Colorado. My cousins brought along some activities for us to do together, including shrinky dinks! Shrinky dinks bring back so many fun childhood memories, so I was pretty excited to try them out again...I wanted to make something that I would actually use, so I looked at some of the jewelry that I've been eyeing for inspiration. I realized that I could easily make some geometric style necklaces. You could also make earrings or a bracelet or maybe even a ring. It would also be fun to add in more colors. I wanted to try some necklaces that had multiple parts (similar to this necklace I made from wood), but I didn't get a chance. Next time!
This is a super easy project to do. All you need is shrinky dinks, a permanent marker, chain (or you could also use leather cord, or something like that), 4 jump rings, and a closure. Just draw your design onto the shrinky dink paper and cut it out. Remember to make the design about twice as big as you want it to be when it's done. Use a hole punch to make holes in your pieces (make sure they aren't too close to the edges). We were having trouble with the shrinky dinks curling up at first- make sure you leave them in the oven long enough because they will eventually return to being flat on their own. Keep an eye on them and carefully flatten them with a spatula if it looks like they are going to curl onto themselves completely and get stuck. We also found that it was helpful to heat up the pans before we put the shrinky dinks on. When they are done, just attach your chain to the piece with jump rings, and you're done!


